Showing posts with label projects. Show all posts

Friday, June 15, 2012

Painting Vacation

Last week my daughter Ashley and I celebrated end of school year with a trip to California.  My mother lives there so it's a great time to visit with her.  On the first day we went to the beach {ofcourse}.  


That evening we realized how sunburnt we both were.  My shins were a bright shiny red and her shoulders were untouchable.  Needless to say, Day 2 was spent relaxing, wearing loose clothes and not touching each other. 
We decided to paint some frames that I found at some garage sales that were left in my car.  My mother has been painting furniture lately for her antique shop and wanted to show me a few tricks up her sleeve.

Vintage frames and Collage Frames are on my list of things to add to my shop for craft shows.

We also got Papa involved {he had the cool tools and the multiple staple guns}


So next time you have an old frame sitting around- just pick your paint, add some chicken wire and repurpose it. 
 Yes, it's that easy. 
If you don't want to go to the trouble you can always just purchase one of mine at a craft show.  hint hint...

Have you done a project like this?  What do you repurpose around the house?

Thursday, March 15, 2012

DIY Headband- Anyone going to Disneyland?

I just got the best email from a happy customer!  I love those.  She said I could share her tutorial with you so here we go:

Last month she emailed me asking about my wholesale headbands and if they would fit both children and adults.  They really are the most comfortable headbands I've found.  You can find them here:


This is what she had to say:

The ears were the hit of the party, everyone loved them! Your headbands worked perfectly for creating Mickey and Minnie ears. I found a template for the ears here:family.go.com/crafts/craft-766435-mickey-and-minnie-ears-t/
After a lot of cutting, I just hot glued the ears on and added ribbon to the Minnies. 
Your headbands were absolutely perfect, they fit the kids and the adults and we all had fun wearing them :)
Here is a picture of my little ham, the birthday girl, wearing them. 


She went to Joannes and got the the stiff felt for the ears
This was by far the easiest way to make them. Other blogs suggested using the wider plastic headbands and covering them with felt then cutting circles and covering them with felt. Your headbands saved me several steps and since they are so thin, they will fit any head comfortably. We even got them on a couple of grown men for a minute but they will deny it!

Here is a the end result!  Utter Cuteness!!! 


Thanks so much Lizzie for sharing your precious pics and tutorial with us today!


Monday, February 13, 2012

Craft Room Update

I was browsing Pinterest for some craft room ideas and found a wood teacup shelf that would be perfect in my craft room.  I happened to have one that was handed down to me from my mother and ended up in the garage last year with no plans of ever entering the house again.   I'm so excited that I found a way to give it new life and save a piece of my families treasures.

Heres what you need:
Sanding paper
Spray Paint Primer
Spray Paint in your favorite color (I used Matte)
Spray Paint Laquer

My original teacup shelf


Lay your project down on a sheet and sand
{don't skip this part- trust me, the paint WILL bubble}


After Sanding, you will spray Primer and let it dry
{I chose quick dry Primer because I'm impatient}


Pretty Paint Time
{Make sure to get all the crevices and underneath the shelf since you will be looking up at it when you hang it}


Time to hang
{Notice all the "Stuff" on my table}


Now I'm all organized
{I put the ribbon on the shelf that I am currently using for orders and projects so it's close by}


I now have more working room for my projects
{and I love the color- it makes me happy to work in this space}


Did you notice there was no sewing machine in the above picture?

This is why?

Ashley was feeling a little unorganized so she made herself a bed organizer to hold her Ipad, remote control and other secret items
{It's fun that we can share our craft love}


So I know you think I look sooooo organized, right?

NOT!

Everything is somewhat organized and labeled in the cabinet but needs more help
It's my next project


So, look around and see what you can find to save, refresh and make new again~


What are you planning to refresh in your house?


Linking up to:


Tuesday, February 7, 2012

Project Life- January

I didn't think we did very much in January, but after printing my pictures at Walgreens; I guess we did.

Ashley was really excited to get started {She's a crafty girl}


I was really excited and forgot that it was all about easy {I pulled down the cutter, stickers, pens}


Completed Project


I have a few more pictures I need to get printed from my phone but 5 scrapbook pages later in 45 minutes isn't bad.  I love how I will have a keepsake of Ashley's handwriting forever.

My hairdresser; JamieLynn told me that you can print pictures right off of your Facebook account at Target.  Have you done that?  I'm soooo trying this for next month.

Friday, February 3, 2012

Craft Room

My first giveaway this week is going well.  I’m really excited to see a few new followers and found some really inspiring and yummy blogs to boot!

{following you back}

I cleaned my craft room a few days ago when the hubby decided he HAD to sew his scrubs up right in the middle of my working- Men!  Anyways, when he moved the sewing machine (because I was shooing him out) all of my ribbon went tumbling- UGH! 

I was caught up on orders at the time and then my shop exploded again!  Thanks to everyone for sharing the love and making my shop so successful!


PS- do you like when I change these font colors? What do you prefer?

Tuesday, January 31, 2012

Project Life

Yay~  Look what came in the mail........... Can you tell how excited I am??? 


Love this divider in my album


All my goodies


Now to get those pictures developed!  

Saturday, January 28, 2012

Project Life

I've always been a huge picture person.  Every trip or event I take 30-200 pictures.  My closet is full of photo boxes, memory books and tubs of my children's drawings and awards.  I have scrap books for both my children; one is a baby book and one is an elementary book.  As I get busier and they get busier it's harder and harder to take the time to actually "scrapbook".  The digital camera doesn't help either since I just download my pictures and don't physically see them, but I feel they are forgotten.  (Back in the day- I would get my film developed and ALWAYS get double prints.)  


I was searching around and found Becky Higgins-Project Life.  It's a genius idea and a mother's ticket to scrapbooking.  I placed my order immediately.


cultivate a good life by Becky Higgins


Here's what I got:


12x12 Binder in Clementine
Project Life Core Kit
Photo Pocket Pages in 6x12, 12x12, 4x6 


I wanted so much more!  This will give me 48 pages to start with.  I'm going to start with 2012 and work my way back.........  


3-5 days for shipping seems sooooooooo long right now~ I better get my pictures developed so I'm ready when UPS arrives.  


Stay Tuned for my Project Life-

Monday, December 12, 2011

Stockings

This is the first year that my parents will be staying with me for Christmas.  We have lived in the same city my entire life but they just moved to California so the holidays have been spent at my house lately.  

Ashley and I hung our stockings on the mantle and then said Mema and Papa need one too.  

I bought 2 inexpensive stockings at Target:

We decided to cut out letters with my felt that I use for roses.  Ashley drew the letters and started cutting:

She wanted to stitch the letters on the the cuff (mind you it was 9:00 at night on a school night)
She has my husbands sense of emotion (she really is happy but smiling on the inside)


When I told her she could use hot glue thats when she got excited and started gluing buttons.

Final Result:


My parents saw them on the mantle this evening and LOVED them.  

Happy Holidays!

Sunday, September 25, 2011

Fall is in the air......

Fall was in the air on Friday so I decided to spruce up my worn out wreath that has been hanging above my door for about 8 years.  It only gets changed out at Christmas... Poor Poor Wreath.  I wish I would have taken a before picture but honestly I'm too embarrassed.  


I cleaned the dust off a 36 inch grapevine wreath and made a sunflower bow.  (I used my floral design skills that were pretty rusty) and wired/hot glued it to the bottom.


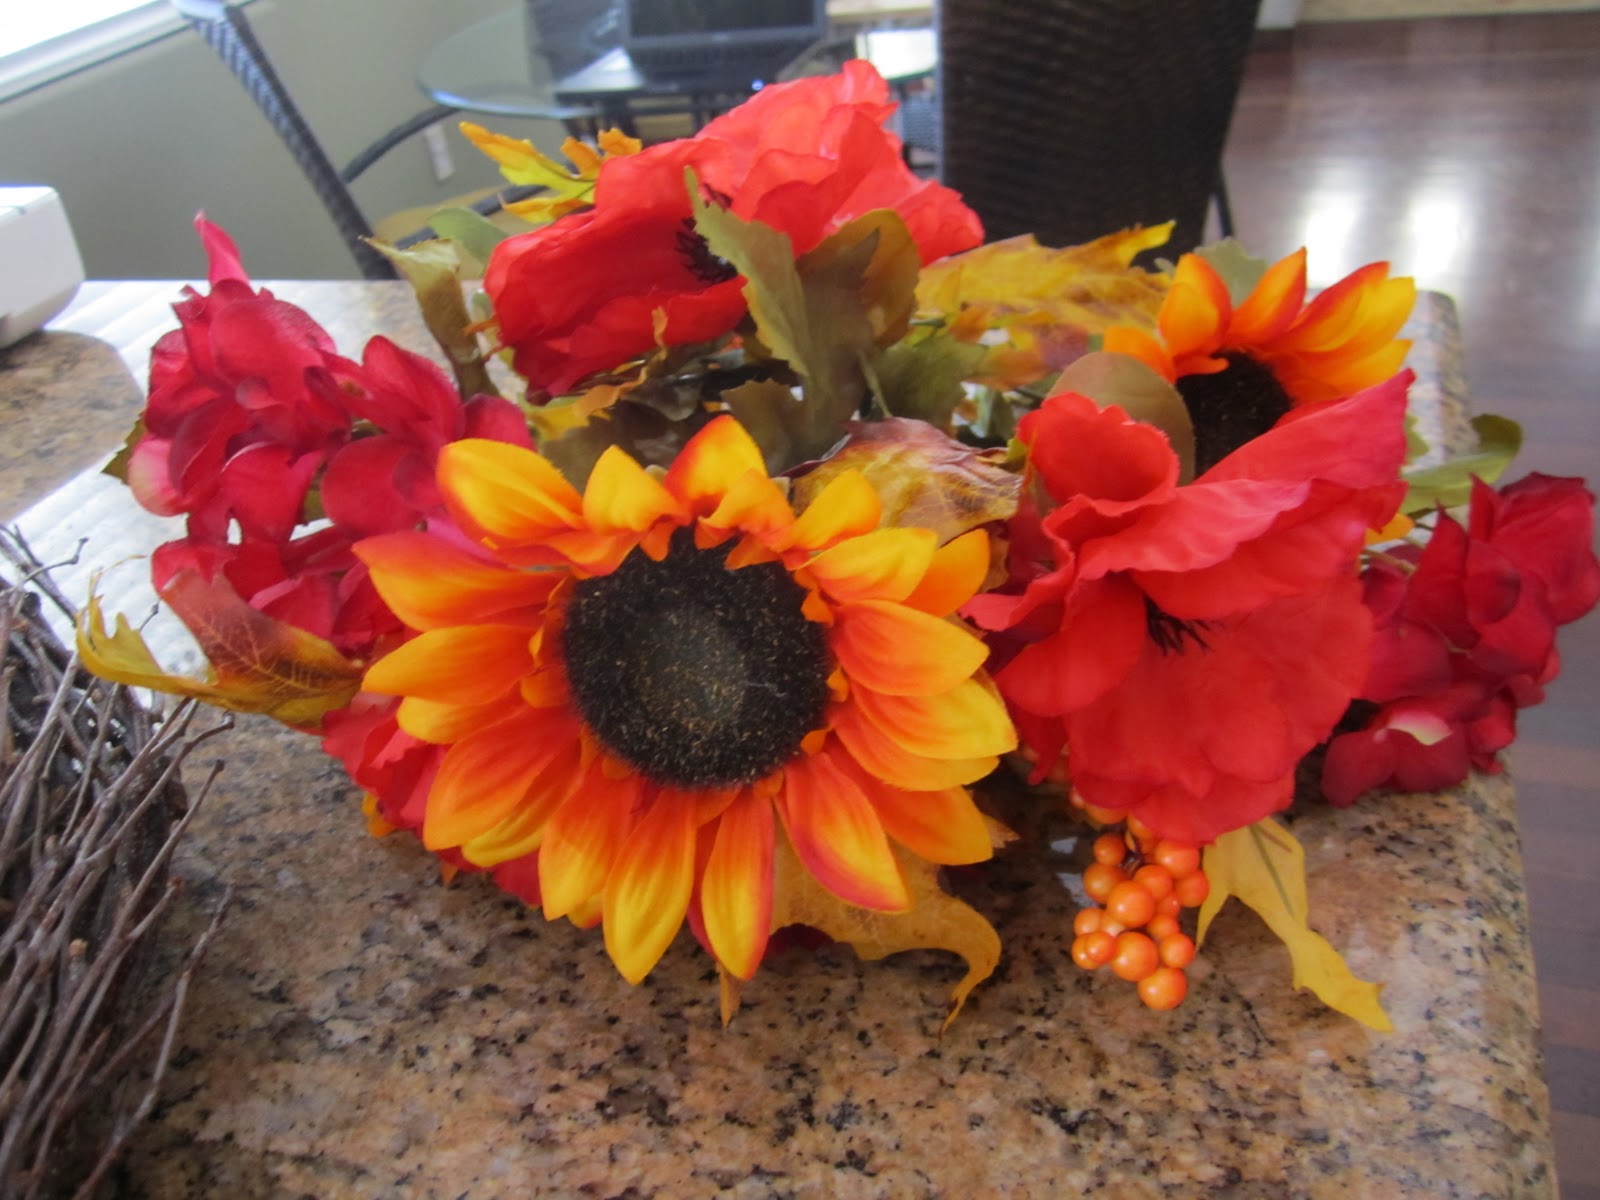
Since all of the stores are covered in Fall right now I found one bunch of all of my favorite colors and flowers for $5.00.


Then the hot gluing began.  I usually wire the larger flowers to the wreath but was being pretty lazy today; so hot glue it is........


I start out on side and move up the wreath and then move on to the other side.  Always make sure you use the 1, 3 or 5 ratio.  You always want an odd number of each flower to balance your design.


Tada!!!  All finished...Now time to plant- It's never ending around here.........